Diamond painting is a creative activity that is attracting more and more people. Whether you are a beginner or simply curious to try, this guide will accompany you in your first steps. Discover the steps to get started, the necessary tools and the tips for successful creations.

What is diamond painting?
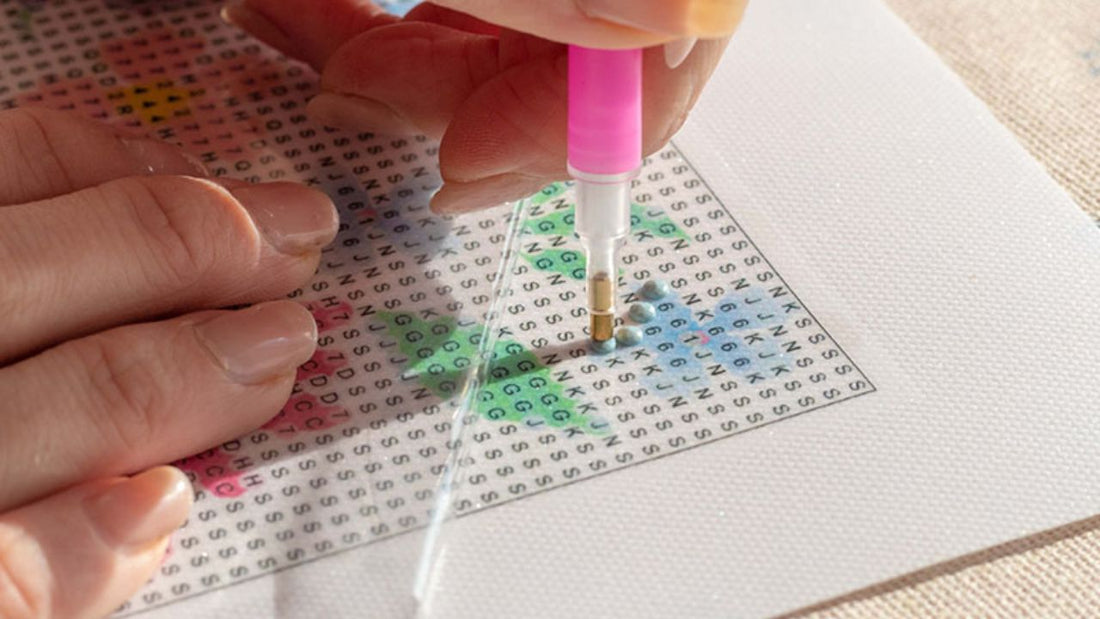
Diamond painting, also called diamond embroidery , is a manual and creative activity that combines the precision of cross stitch and the ease of painting by numbers . It consists of sticking small resin rhinestones on a self-adhesive canvas, pre-printed with patterns. Each diamond color corresponds to a specific code, which makes the process easier.
The results are often breathtaking: brilliant, detailed works that reflect light, perfect for decorating your home or giving as a gift.
💘 Click here to discover our diamond painting kits !
The tools you need to get started
Before you begin, make sure you have the right tools. Most kits come with everything you need, but it's important to know what they're for.
- The canvas: It is self-adhesive and covered with a protective film. Choose a good quality canvas for a better result.
- Diamonds: They can be round or square. Round rhinestones are easier to handle, perfect for beginners, while square ones offer full coverage and a cleaner result.
- The stylus: It allows you to pick up the diamonds and place them on the canvas.
- Wax: It is used with the stylus to make it easier to pick up the rhinestones.
- The tray: It is used to sort and organize the diamonds by color.
- Optional accessories: Tweezers to reposition the rhinestones, an LED lamp to see better, or organizers to avoid mixing colors.
Steps to start your diamond painting

Here are the detailed steps to get started without stress and fully enjoy this relaxing activity.
1. Prepare your workspace
First of all, find a clean, well-lit, and comfortable place. A flat table or desk is ideal. Also consider:
- Protect your work surface (tablecloth or non-slip mat).
- Organize your tools so they are within easy reach.
- Use resealable boxes or bags to store diamonds after each session.
2. Read the kit instructions
Each kit contains a diagram with color codes corresponding to the diamonds. Take the time to understand these indications before starting. Also check that all the necessary elements are present.
3. Prepare the diamonds
To make the work easier:
- Pour a small amount of diamonds onto the tray.
- Shake them lightly so that they turn face up.
- Work color by color to avoid accidental mix-ups.
4. Start placing the diamonds
- Gently remove the protective film from the canvas on a small section. Do not remove it completely to avoid the glue drying or dust settling on it.
- Dip the tip of the stylus into the wax, then pick up a diamond using light pressure.
- Place it on the canvas following the color code.
- Press gently to secure in place.
5. Protect your work in progress
If you don't finish in one session (which is often the case), cover the canvas with its protective film. This will prevent dust or debris from damaging the sticky surface.

Tips for a perfect result
To achieve a flawless work, here are some tips:
- Work in small sections: This makes the process more manageable and avoids mistakes.
- Using tweezers: Perfect for repositioning misaligned diamonds.
- Smooth evenly: Use a roller or a flat object to firmly secure the rhinestones once a section is completed.
- Avoid mixing diamonds: Store each color separately, ideally in labeled bags or boxes.
Once the diamond embroidery is finished: What to do?

Once you have placed the last diamond, there are several steps to enhance and protect your creation:
- Seal the diamonds: Apply a special glue or transparent varnish to fix them permanently.
- Framing the work: Choose a suitable frame to show off your diamond painting and protect it from dust.
- Decorate your interior: Hang your work in a bright room to enjoy its brilliant reflections.
- Give as a gift: A personalized diamond painting is an original, handmade gift that is sure to please.
Common Mistakes to Avoid for Beginners
Even though diamond painting is easy to get into, it's easy to make mistakes when you're just starting out. Here are some to avoid:
- Remove all the protective film at once: This exposes the canvas to dust and causes it to lose its adhesion.
- Accidentally mixing diamonds: Work with only one color at a time to avoid mix-ups.
- Working in a poorly lit area: Good lighting is essential to distinguish the codes and align the rhinestones correctly.

Why try diamond painting?
Beyond the satisfaction of creating, diamond painting is a relaxing activity that is accessible to all. It helps reduce stress, stimulates concentration and offers a fun way to disconnect from screens.
Conclusion
Starting a diamond painting can seem intimidating, but with the right tools and a few tips, it can be a real pleasure. Prepare your space, follow the steps with patience, and let your creativity flow. Once you've finished your first piece, you'll be proud of the result and can't wait to do it again!
Ready to get started? Check out our diamond painting kits for beginners and let your imagination run wild. 😊
