Fast & tracked delivery
Your dose of creativity arrives quickly at your home, you can track your package right to your mailbox.

You've probably already fallen in love with these cute little crocheted creatures that are invading our Instagram feeds! Called amigurumis , they are much more than just stuffed animals. But then, what exactly is an amigurumi? And how do you make an amigurumi?
The time has come to start making your very first amigurumi! Don't panic, we'll guide you step by step to successfully crochet your little stuffed animal.
To get started, choose a model that is suited to your level . Opt for a simple amigurumi, without too many details or assembly . A little cat, a teddy bear or a funny cactus are good projects to start off gently.
Preferably opt for an amigurumi kit that includes everything you need, accompanied by detailed explanations and, if possible, photos or diagrams. The step-by-step instructions are perfect for visualizing the different stages of the project.
To make your amigurumi, follow the different steps of the pattern carefully. In general, we start by crocheting each part separately : the head, the body, the arms and the legs for example.
Be careful about certain points when picking:
A tip: use a smaller hook than the one recommended on the label of your yarn. Your stitch will be tighter, and your amigurumi will be even prettier! With a little practice, you will quickly find the right gesture.
Once all the pieces are made, all you have to do is assemble your amigurumi . Before stuffing, it's time to finish.
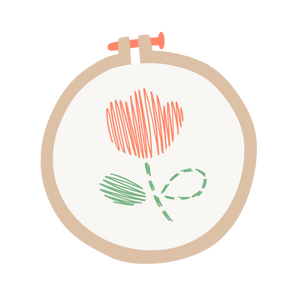
You can embroider the different details of the face like eyes, nose or mouth. Use simple stitches like stem stitch or knot stitch. If you are not comfortable with embroidery, you can glue on safety eyes.
To assemble, sew the different parts together before stuffing . Use the same wool as your work and make discreet stitches. You can baste before sewing definitively, to adjust if necessary.
Gradually stuff your piece so that it is nice and rounded and firm. Avoid overstuffing, as your stuffed animal will be too hard. A tip for regular stuffing: insert the wadding in small pieces using a pencil !
Your first amigurumi is finished, congratulations!


Laetitia Jandric
Founder of JOY! · Creative Leisure Expert
A mother of three and founder of JOY! since 2022, Laetitia selects and tests each creative kit before listing it. Her articles combine practical advice, field experience feedback, and concrete recommendations to help everyone find the activity or gift that truly fits.
Learn more →
Your dose of creativity arrives quickly at your home, you can track your package right to your mailbox.

Got a problem? Don't panic, you have 15 days to change your mind.
Creative activities for young and old (from 0 to 77 years old!), perfect for disconnecting from screens and spending real time together.

JOY! is fun, colorful, and a touch of madness to dust off your creative leisure activities!